WordPress là CMS phổ biến nhất thế giới, và Claude Code có thể trở thành trợ lý đắc lực cho WordPress developers. Bài viết này hướng dẫn cách setup Claude Code đơn giản cho dự án WordPress, các trường hợp sử dụng thực tế, và template CLAUDE.md tối ưu cho dự án WordPress.
Ở các bài sau, AZDIGI sẽ tiếp tục chia sẻ quy trình setup một AI Agent dành riêng cho WordPress để nó làm thay bạn các tác vụ phức tạp.
Tại sao WordPress Developer nên dùng Claude Code?
Lợi ích chính
- Debug nhanh hơn: Claude thừa sức hiểu cấu trúc codebase WordPress, có thể trace lỗi trong plugins/themes phức tạp
- Viết custom code: Từ functions.php (hoặc MU-Plugin) snippets đến custom plugins
- Tối ưu performance: Phân tích và đề xuất cải thiện hiệu năng cho website (nếu bạn cung cấp đủ thông tin)
- Security review: Tìm lỗ hổng bảo mật trong theme/plugin code
- Learning: Giải thích code của plugins phức tạp
Claude Code hiểu WordPress
WordPress là CMS mạnh mẽ và phổ biến nhất hiện tại, vì vậy việc Claude hiểu toàn bộ các codebase của WordPress là không phải lạ. Qua kinh nghiệm của mình đã vibe-code trong WordPress với Claude, nó có thể hiểu được tốt các:
- Quy chuẩn coding của WordPress
- Hook system (actions, filters)
- Database structure (wp_posts, wp_postmeta, etc.)
- Theme/plugin architecture
- WooCommerce, Elementor, và plugins phổ biến
Setup Claude Code đơn giản cho dự án WordPress
Trong phần này, mục tiêu là chúng ta sẽ cho Claude can thiệp vào thư mục wp-content của WordPress, mục đích là để nó tương tác vào các thư mục plugins và themes bên trong.
Bước 1: Cấu trúc thư mục điển hình
Bạn nên sao chép thư mục wp-content của website đang chạy trên host (nếu ở local thì bỏ qua) về máy, sau đó loại bỏ thư mục uploads, cache,…chỉ cần giữ lại thư mục plugins và themes.
Sau đó ở thư mục wp-content đã chép về máy, hãy tạo tập tin CLAUDE.md và .claudeignore để cấu trúc giống như bên dưới:
my-wordpress-project/
├── wp-content/
│   ├── themes/
│   │   └── my-theme/
│   ├── plugins/
│   │   └── my-plugin/
│   └── uploads/
├── CLAUDE.md              # File config cho Claude
└── .claudeignore          # Files to ignore
Nếu có dự định viết custom code, thì hãy tạo repo git cho thư mục wp-content trên máy và thêm thư mục wp-content/plugins/ và wp-content/themes vào file .gitignore. Sau khi có thay đổi gì về code thì hãy tiến hành commit và push lên git remote, còn ở host hoặc máy chủ thì thiết lập git để pull về.
Xem thêm: Thiết lập Git trong hosting cPanel
Nếu có thể, hãy mang cả website đang chạy từ host về local luôn để có thể test nhanh.
Bước 2: Tạo .claudeignore tối ưu cho WordPress
Mặc dù theo hướng dẫn này, bạn chỉ lôi thư mục wp-content về nhưng nếu có điều kiện thì mang đầy đủ cả website WordPress về local, và tạo file .claudeignore để nó bỏ qua một số thư mục không cần thiết, vừa tiết kiệm token và tiết kiệm thời gian triển khai.
# WordPress Core (không cần Claude đọc)
wp-admin/
wp-includes/
# Uploads (quá lớn, không relevant)
wp-content/uploads/
# Cache
wp-content/cache/
wp-content/litespeed/
# Dependencies
wp-content/plugins/*/vendor/
wp-content/themes/*/node_modules/
# Other plugins (exclude những cái không làm việc)
# wp-content/plugins/woocommerce/
# wp-content/plugins/elementor/
# Build files
*.min.js
*.min.css
*.map
# Logs
*.log
debug.log
Giải thích:
- Ignore wp-admin, wp-includes vì đây là WordPress core
- Ignore uploads vì chỉ là media files
- Có thể ignore plugins không làm việc trực tiếp
Bước 3: CLAUDE.md Template cho WordPress
Bổ sung nội dung hướng dẫn đầy đủ cho Claude tại tập tin CLAUDE.md để đảm bảo nó làm việc “mượt” nhất có thể. Nếu có lưu ý gì thì nên trình bày rõ ràng ở đây nhé.
# WordPress Project: [Tên dự án]
## Quick Context
Website WordPress cho [mô tả ngắn]. Tech stack: PHP 8.x, MySQL 8.x, LiteSpeed.
## Tech Stack
- **CMS:** WordPress 6.x
- **Theme:** [Theme name] (child theme của [parent])
- **Page Builder:** Elementor / Gutenberg / None
- **E-commerce:** WooCommerce (nếu có)
- **Hosting:** AZDIGI Pro Platinum (LiteSpeed + NVMe)
- **Cache:** LiteSpeed Cache plugin
- **PHP Version:** 8.2
## Project Structure
wp-content/
├── themes/[theme-name]/
│ ├── functions.php # Custom functions
│ ├── template-parts/ # Reusable templates
│ └── assets/ # CSS/JS
└── plugins/[plugin-name]/ # Custom plugin (nếu có)
## WordPress Conventions
- Sử dụng WordPress coding standards
- Prefix functions với `mytheme_` hoặc `myplugin_`
- Escape output: esc_html(), esc_attr(), esc_url()
- Sanitize input: sanitize_text_field(), absint()
- Nonce verification cho forms
## Important Files
- `functions.php` - Main theme functions
- `style.css` - Theme styles + info
- `inc/` - Organized PHP includes
## DO
- Tuân thủ WordPress coding standards
- Sử dụng hooks (actions/filters) thay vì sửa core
- Luôn escape output
- Sử dụng $wpdb->prepare() cho queries
- Check capabilities trước khi actions
## DON'T
- KHÔNG sửa file trong wp-admin/ hoặc wp-includes/
- KHÔNG hardcode URLs (dùng home_url(), get_template_directory_uri())
- KHÔNG dùng global $post ngoài Loop
- KHÔNG trust user input
## Database
- Prefix: wp_
- Custom tables (nếu có): [list]
## Hosting Notes
- Server: AZDIGI Pro Platinum Hosting
- LiteSpeed Cache đã cấu hình
- Object Cache: Redis
- Nếu cần purge cache: dùng LiteSpeed Cache API
Các trường hợp sử dụng thực tế
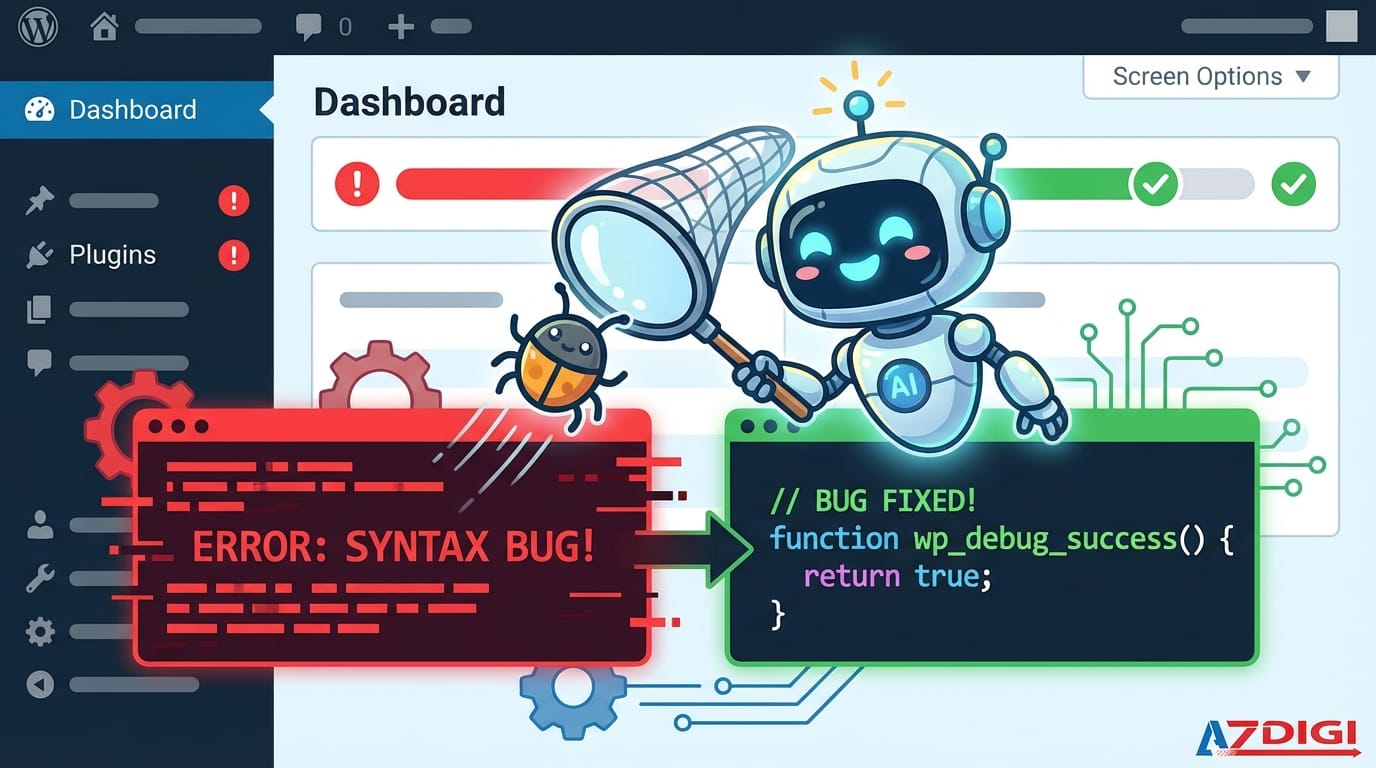
Use Case 1: Debug lỗi Plugin/Theme
Scenario: Plugin xung đột gây lỗi 500/trắng trang.
Prompt:
Website bị trắng trang sau khi update plugin X.
Error log:
[paste error từ debug.log]
Hãy phân tích nguyên nhân và đề xuất cách fix, sau đó kiểm tra hướng fix có xung đột với plugin khác không.
Lúc này Claude sẽ bắt đầu đi trace lỗi tìm nguyên nhân, sau đó đọc các file plugins và themes có khả năng xung đột và có thể viết code vá nếu cần.
Use Case 2: Tối ưu hóa Performance
Scenario: Website load chậm, cần optimize.
Prompt:
Website load > 3 giây. Đang dùng:
- Theme: Flavor
- Plugins: Elementor, WooCommerce, LiteSpeed Cache
Phân tích và gợi ý:
1. Database queries có thể optimize
2. LiteSpeed Cache settings
3. Asset loading improvements
Use Case 3: Viết code tuỳ chỉnh
Nhiều người sẽ chèn code tuỳ chỉnh vào file functions.php trong theme đang sử dụng. Theo kinh nghiệm riêng của AZDIGI, bạn nên tạo một plugin đơn giản tại thư mục wp-content/mu-plugins/ và viết code vào đó. Nó sẽ hoạt động như một Must Use Plugin (MU Plugins) và tự kích hoạt. Khi nào không cần nữa thì xoá tập tin trong mu-plugins là xong.
Prompt:
Tạo một mu-plugin để:
- Thêm custom post type "Portfolio"
- Có custom fields: project_url, client_name
- Taxonomy: portfolio_category
- Sử dụng WordPress coding standards
Use Case 4: Tạo Custom Blocks/Widgets
Nếu bạn là fan của Gutenberg Editor giống mình thì có thể sẽ hữu ích khi tạo thêm các block tuỳ chỉnh phục vụ nhu cầu của riêng mình.
Prompt:
Tạo Gutenberg block "Pricing Table":
- 3 columns: Basic, Pro, Enterprise
- Mỗi column có: name, price, features list, CTA button
- Responsive design
- Sử dụng @wordpress/scripts
Use Case 5: Review vấn đề bảo mật
Prompt:
Review security của theme này. Focus:
- SQL injection vulnerabilities
- XSS vulnerabilities
- CSRF protection
- File permission issues
- Escape/Sanitize usage
Use Case 6: WooCommerce Customization
Scenario: Cần customize WooCommerce.
Prompt:
Thêm custom field "Gift message" vào checkout WooCommerce:
- Hiển thị sau billing fields
- Save vào order meta
- Hiển thị trong order admin và email
Claude output:
// Add gift message field to checkout
add_action('woocommerce_after_order_notes', function($checkout) {
    woocommerce_form_field('gift_message', [
        'type'        => 'textarea',
        'label'       => __('Gift Message', 'mytheme'),
        'placeholder' => __('Nhập lời nhắn...', 'mytheme'),
        'required'    => false,
        'class'       => ['form-row-wide'],
    ], $checkout->get_value('gift_message'));
});
// Save gift message to order
add_action('woocommerce_checkout_update_order_meta', function($order_id) {
    if (!empty($_POST['gift_message'])) {
        update_post_meta($order_id, 'gift_message',
            sanitize_textarea_field($_POST['gift_message']));
    }
});
// Display in admin order
add_action('woocommerce_admin_order_data_after_billing_address', function($order) {
    $message = get_post_meta($order->get_id(), 'gift_message', true);
    if ($message) {
        echo '<p><strong>Gift Message:</strong> ' . esc_html($message) . '</p>';
    }
});
Workflow phát triển Theme với Claude Code
Step 1: Setup môi trường local
# Local development (sử dụng LocalWP, MAMP, hoặc Docker)
cd /path/to/local-wordpress/wp-content/themes/my-theme
# Khởi động Claude Code
claude
Step 2: Initialize project
You: /initReview và customize CLAUDE.md theo template ở trên.
Step 3: Development workflow
# Plan feature trước
[Shift+Tab để Plan Mode]
You: Lên kế hoạch tạo custom post type Events với date picker
# Implement
[Shift+Tab để Code Mode]
You: Implement theo plan trên
# Review
You: /review functions.php
Step 4: Testing
Prompt: Viết PHPUnit tests cho Event post typeTips khi làm việc với WooCommerce
1. Hiểu hook system
You: Liệt kê tất cả hooks của WooCommerce checkout process theo thứ tự2. Custom email templates
You: Customize WooCommerce order confirmation email:
- Thêm logo
- Custom footer
- Highlight order items
3. Shipping/Payment gateway
You: Tạo custom shipping method cho AZDIGI Express:
- Flat rate 30.000 VND
- Free shipping cho order > 500.000 VND
- Chỉ áp dụng cho Việt Nam
Deployment: Từ Local lên Hosting
Checklist deploy WordPress
- Export database local
- Search-replace URLs (local → production)
- Upload files via FTP/SFTP
- Import database trên hosting
- Update wp-config.php với credentials mới
- Clear cache (LiteSpeed Purge All)
- Test functionality
Prompt hữu ích
You: Generate WP-CLI commands để migrate database từ local sang production với search-replace URLsOutput:
# Export từ local
wp db export local-backup.sql
# Search replace
wp search-replace 'http://localhost:8888' 'https://example.com' --all-tables
# Export sau khi replace
wp db export production-ready.sql
Kết luận
Claude Code là công cụ mạnh mẽ cho WordPress developers khi được setup đúng cách:
- CLAUDE.md tối ưu giúp Claude hiểu context WordPress
- .claudeignore loại bỏ files không cần thiết
- Use cases cụ thể từ debug đến custom development
- Workflow rõ ràng từ local đến production
Kết hợp Claude Code với hosting chất lượng như AZDIGI, bạn có thể phát triển WordPress websites nhanh hơn, an toàn hơn, và hiệu quả hơn.
Có thể bạn cần xem thêm
- 20 kinh nghiệm khi sử dụng Claude Code
- Claude Code là gì? Giới thiệu và hướng dẫn cài đặt
- Claude Code Channels là gì? Hướng dẫn kết nối Claude Code với Telegram và Discord
- Hướng dẫn dùng Subagents trong Claude để tạo trợ lý AI thông minh
- llms.txt là gì? Hướng dẫn tối ưu website cho AI (ChatGPT, Claude, Gemini)
- WordPress 7.0 có gì mới? Toàn cảnh thay đổi đáng chú ý trong phiên bản Armstrong
Về tác giả

Thạch Phạm
Đồng sáng lập và Giám đốc điều hành của AZDIGI. Có hơn 15 năm kinh nghiệm trong phổ biến kiến thức liên quan đến WordPress tại thachpham.com, phát triển website và phát triển hệ thống.