Nội dung
Continuing with the LEMP Stack series, in this article, AZDIGI will guide you through creating a WordPress website with LEMP on Ubuntu 22.04
I. Requirements
- Login to the server/VPS as root or sudo root
- On your Ubuntu server have already installed LEMP Stack.
- Point the domain to the IP of the server/VPS
II. Steps to configure and create a website
Step 1. Login SSH to VPS/server
To create a website, you first need to do is SSH or access your VPS/server with root privileges. If you don’t know how to SSH into your VPS/Server, you can refer to the following tutorial:
Step 2. Configure vhost and create a website
1. Configure vhost for the website
By default, nginx will have a preconfigured default file, you can delete the content inside and use your sample configuration.
First, you need to empty the default configuration file. This file is located at /etc/nginx/sites-enabled, you move to this directory and use the following command:
echo > defaultroot@ubuntu-2204:/etc/nginx/sites-enabled# echo > default
Next, open this file and add the configuration below:
server {
    listen  80;
    server_name <tên miền hoặc IP>;

    access_log /var/log/nginx/access.log;
    error_log /var/log/nginx/error.log;

    root   /var/www/html/;
    index index.php index.html index.htm;

    location / {
        try_files $uri $uri/ =404;
    }

    location ~ \.php$ {
        try_files $uri =404;
        fastcgi_pass unix:/run/php/php8.1-fpm.sock;
        fastcgi_index index.php;
        fastcgi_param SCRIPT_FILENAME $document_root$fastcgi_script_name;
        include fastcgi_params;
    }
}
In there:
- server_name: Your domain/subdomain or VPS/server IP.
- root: The path containing the website’s source code.
- fastcgi_pass: Path of sock file php-fpm
- To see the path, open the file with the path
/etc/php/8.1/fpm/pool.d/www.conf
- To see the path, open the file with the path
You type :wq to save the configuration and restart Nginx.
systemctl restart nginxroot@ubuntu-2204:~# systemctl restart nginx
After adding the Virtual Host configuration, move to the directory containing the website’s source code and download or upload WordPress.
2. Create database name and database user
To create a new database and user database, go to mysql and do the following:
- Login
mysql -u root -proot@ubuntu-2204:~# mysql -u root -p
Enter password: #Nhập mật khẩu mysql.
- Create database and user database
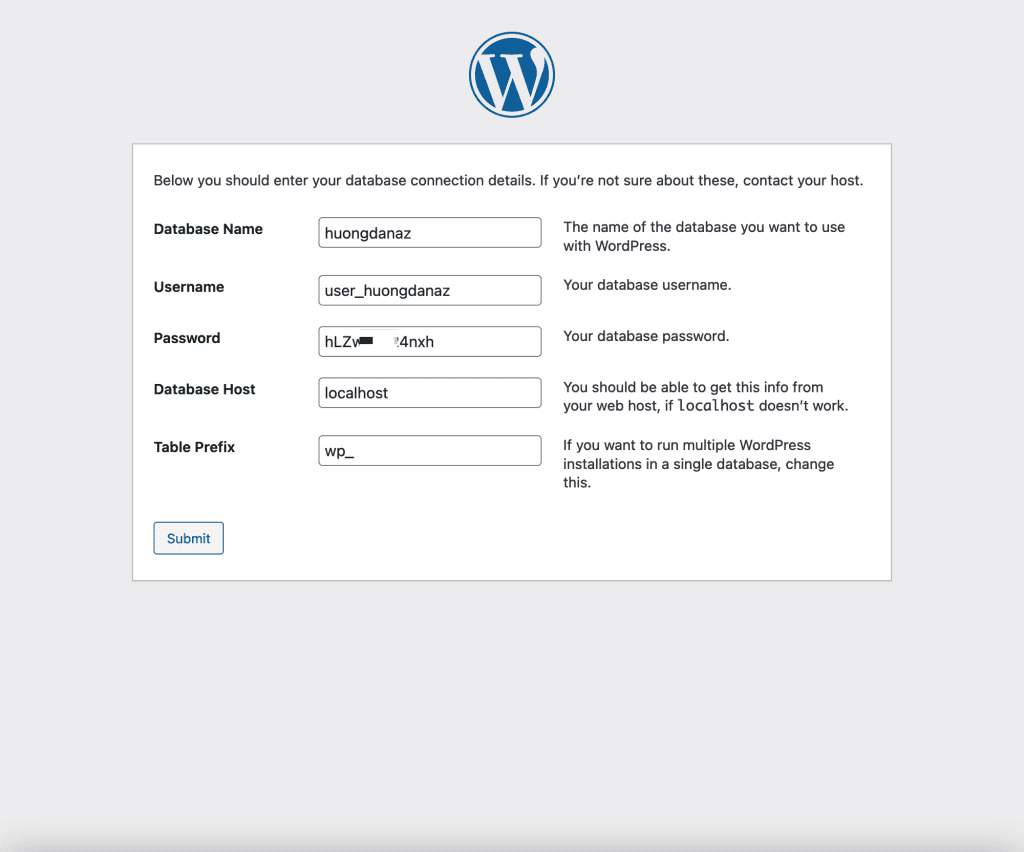
CREATE DATABASE <Tên database>;
CREATE USER '<Tên user>'@'localhost' IDENTIFIED BY '<mật khẩu cho user>';
GRANT ALL PRIVILEGES ON <Tên database>.* TO '<Tên user>'@'localhost'; MariaDB [(none)]> CREATE DATABASE huongdanaz;
Query OK, 1 row affected (0.002 sec)
MariaDB [(none)]> CREATE USER 'user_huongdanaz'@'localhost' IDENTIFIED BY 'hLZw6***4nxh';
Query OK, 0 rows affected (0.015 sec)
MariaDB [(none)]> GRANT ALL PRIVILEGES ON huongdanaz.* TO 'user_huongdanaz'@'localhost';
Query OK, 0 rows affected (0.004 sec)
To check the newly created database, use the following command:
show databases;MariaDB [(none)]> show databases;
+--------------------+
| Database |
+--------------------+
| huongdanaz | #Database vừa tạo
| information_schema |
| mysql |
| performance_schema |
| phpmyadmin |
| sys |
+--------------------+
6 rows in set (0.011 sec)
After checking and seeing the newly created database, use the quit; command to exit quit;. mysql
3. Create a WordPress Website Manually
By default, the directory containing the website’s source code will be located at the path: /var/www/html. You move into this folder and perform the following steps.
- Download the WordPress source code
To download the WordPress source code, you use the command below:
wget https://wordpress.org/wordpress-5.9.3.ziproot@ubuntu-2204:/var/www/html# wget https://wordpress.org/wordpress-5.9.3.zip
After downloading, you can unzip the file:
unzip wordpress-5.9.3.ziproot@ubuntu-2204:/var/www/html# unzip wordpress-5.9.3.zip
Note: If you see the message Command ‘unzip’ not found, but can be installed with, your VPS/server has not installed unzip. To install, use the apt-get install unzip command.
With the source code downloaded from the homepage, when unzipping, there will be a folder called wordpress. So need to move the source code to the document root and re-authorize.
mv /var/www/html/wordpress/* /var/www/html/
chown -R www-data. *root@ubuntu-2204:/var/www/html# mv /var/www/html/wordpress/* /var/www/html/
root@ubuntu-2204:/var/www/html# chown -R www-data. *
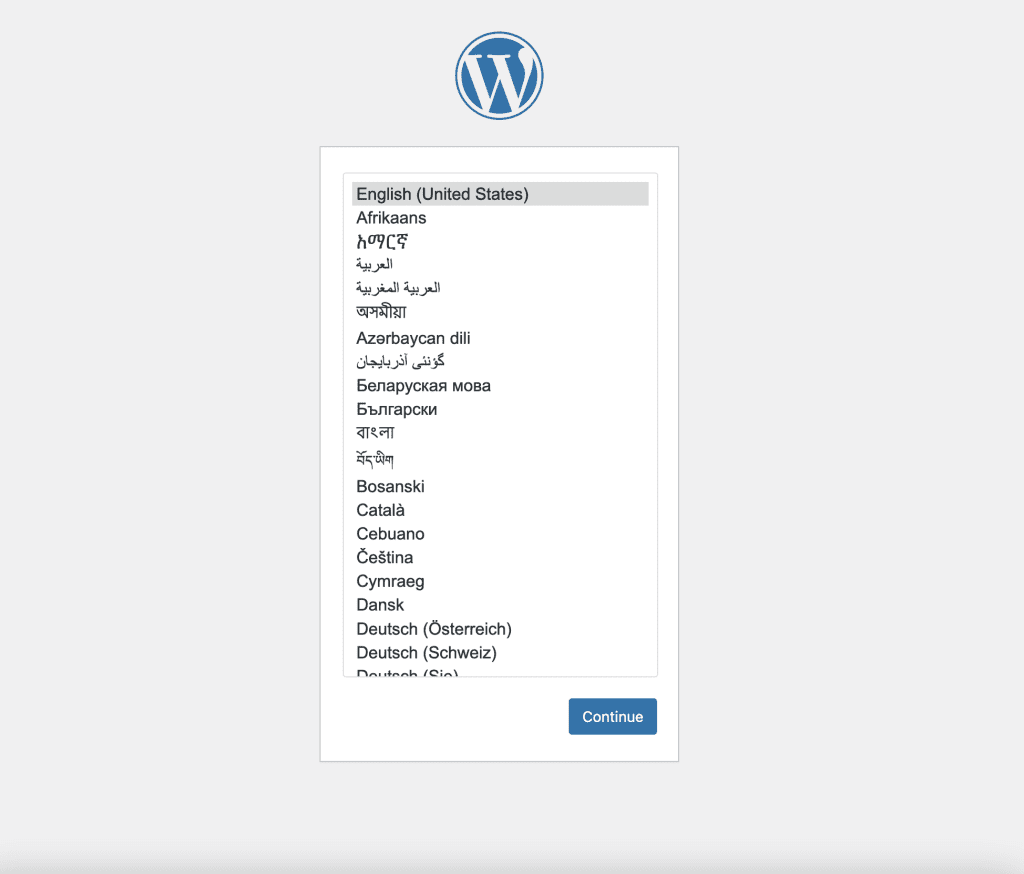
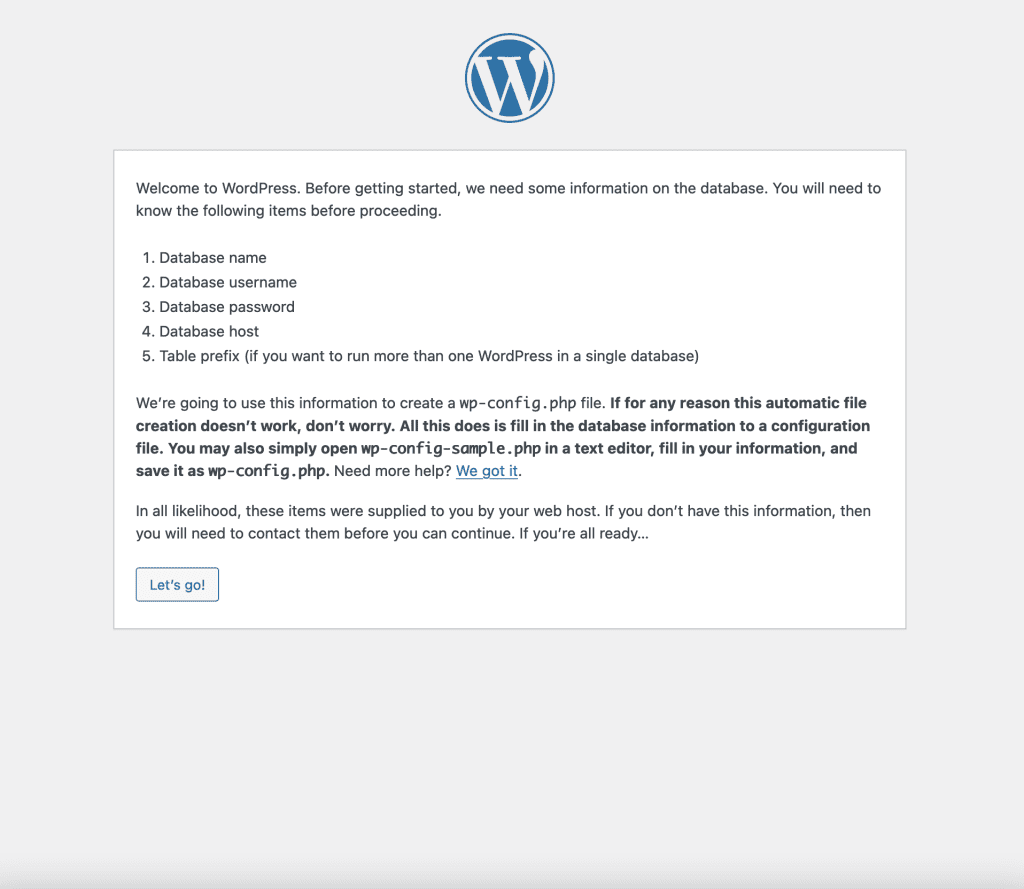
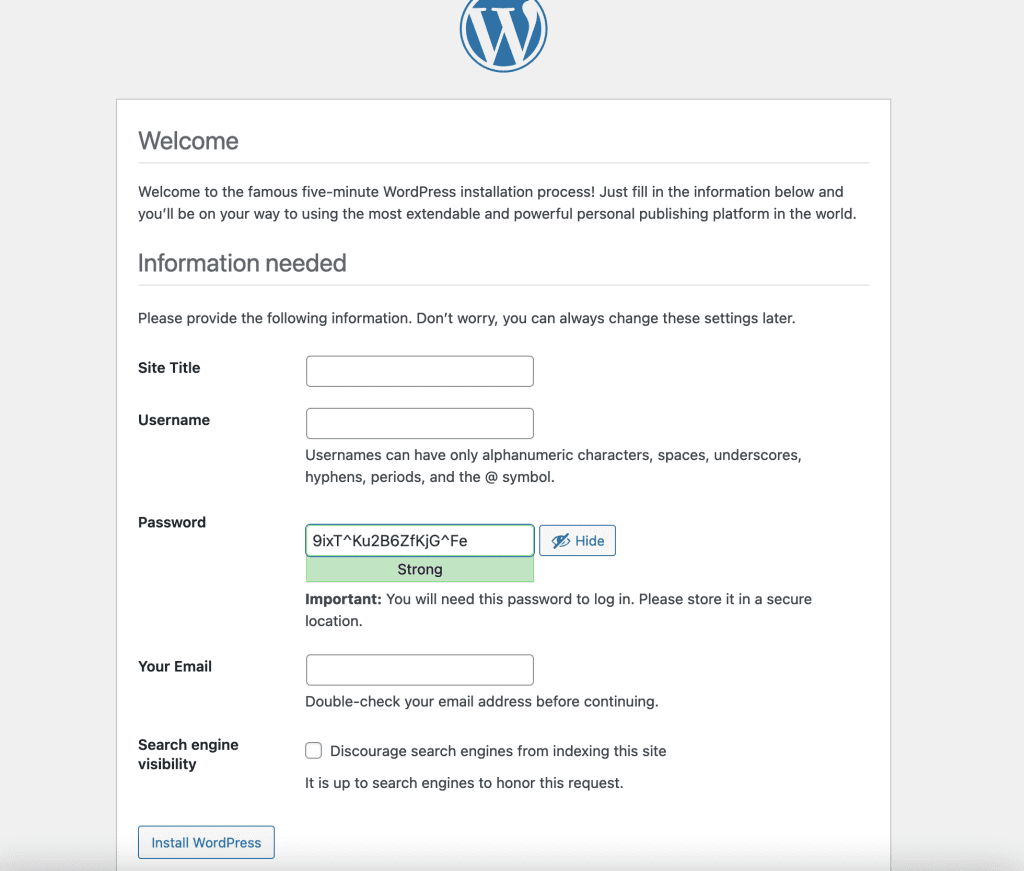
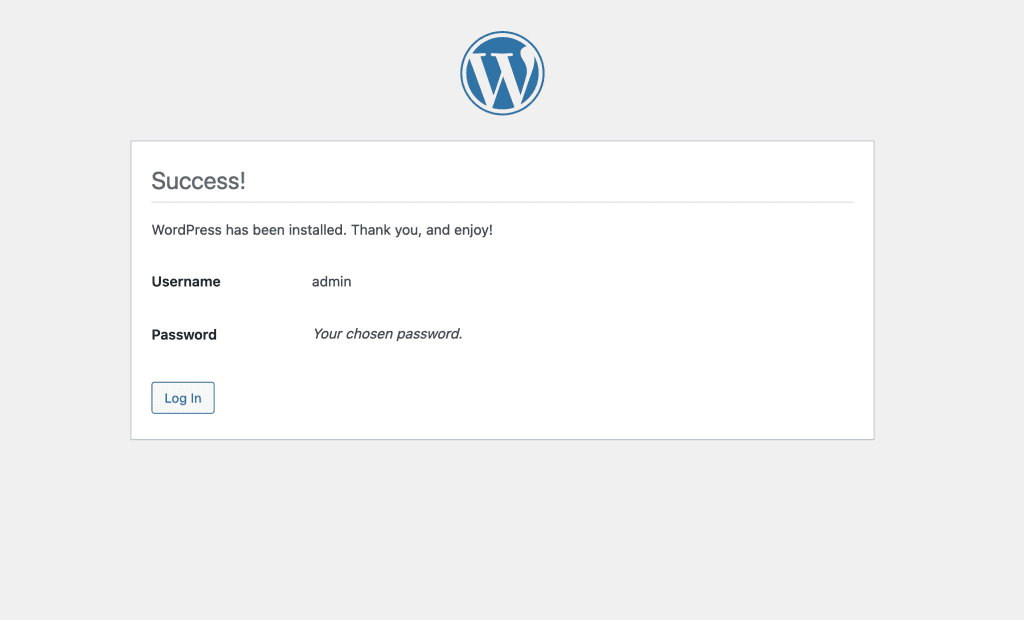
Now you access with domain/subdomain or VPS/server IP to install WordPress.
4. Create a WordPress website with WP-CLI
With WP-CLI, you can easily manage your WordPress website simply through the command line interface (Command). With the usual method, when you need to install Plugins, Themes, or edit WordPress-related things, you need to access the WordPress admin and manipulate by clicking.
To install WP-CLI, use the following commands:
curl -O https://raw.githubusercontent.com/wp-cli/builds/gh-pages/phar/wp-cli.phar
php wp-cli.phar --info
chmod +x wp-cli.phar
sudo mv wp-cli.phar /usr/local/bin/wp
After installing WP-CLI, you can use the command below to install WordPress:
wp core download --allow-root && wp core config --dbname='<Tên database>' --dbuser='Tên user database' --dbpass='pass của user' --allow-root && wp core install --url="<Tên miền>" --title="Blog Title" --admin_user="admin" --admin_password="<Pass admin>" --admin_email="admin@domain.com" --allow-rootroot@ubuntu-2204:/var/www/html# wp core download --allow-root && wp core config --dbname='huongdanaz' --dbuser='user_huongdanaz' --dbpass='hLZw6***4nxh' --allow-root && wp core install --url="huonghuongdanaz.online" --title="Blog Title" --admin_user="admin" --admin_password="EV7H***RbNs" --admin_email="admin@huonghuongdanaz.online" --allow-rootc
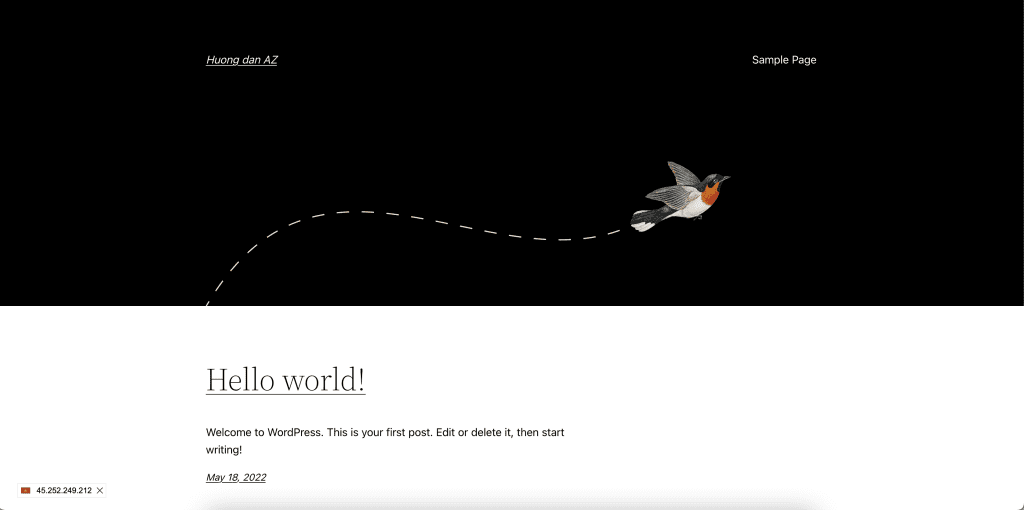
With this CLI command, all processes will be automatic and you only need to wait 5-10 minutes to complete the WordPress installation.

And with the CLI command, you can check more information, such as the version of WordPress your website is using, the list of plugins in use and the theme list.
wp core version --allow-root
wp plugin list --allow-root
wp theme list --allow-rootroot@ubuntu-2204:/var/www/html# wp core version --allow-root #Xem phiên bản wordpress
5.9.3
root@ubuntu-2204:/var/www/html# wp plugin list --allow-root #Xem danh sách plugin
+---------+----------+-----------+---------+
| name | status | update | version |
+---------+----------+-----------+---------+
| akismet | inactive | available | 4.2.2 |
| hello | inactive | none | 1.7.2 |
+---------+----------+-----------+---------+
root@ubuntu-2204:/var/www/html# wp theme list --allow-root #Xem danh sách theme
+-----------------+----------+--------+---------+
| name | status | update | version |
+-----------------+----------+--------+---------+
| twentytwenty | inactive | none | 1.9 |
| twentytwentyone | inactive | none | 1.5 |
| twentytwentytwo | active | none | 1.1 |
+-----------------+----------+--------+---------+
5. Install Redis Cache
- Install Redis
To install Redis, you use the following command:
apt-get install redis-server -yroot@ubuntu-2204:~# apt-get install redis-server -y
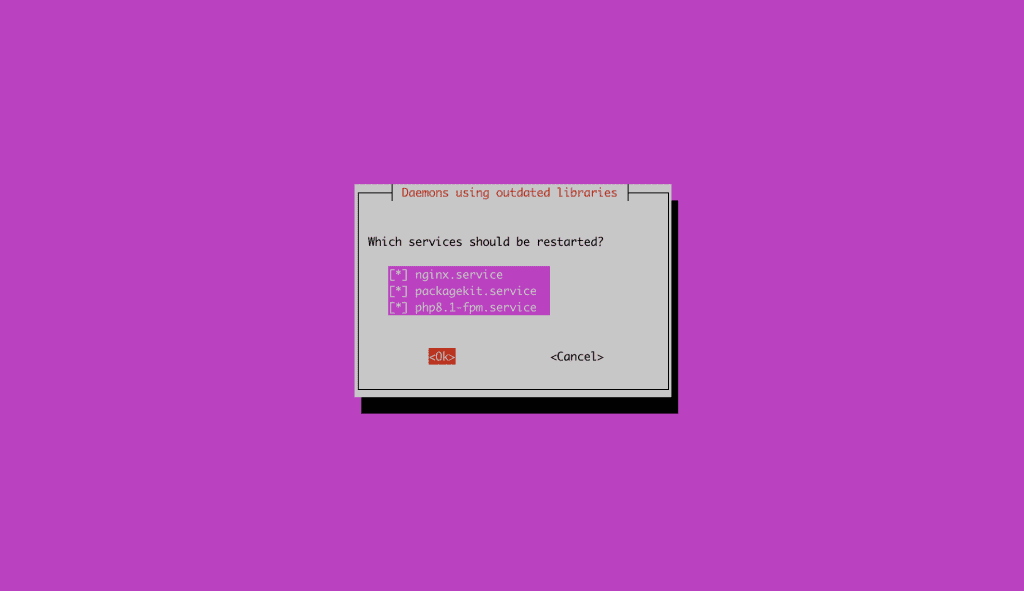
The installation process will appear in a dialog box like below, leave it as default and press the tab key to move down to the Ok button.
- Install PHP Extension
To install the redis extension, you use the command below:
apt-get install php8.1-redis -yroot@ubuntu-2204:~# apt-get install php8.1-redis
- Check and configure Redis
Check connection
redis-cliroot@ubuntu-2204:~# redis-cli
127.0.0.1:6379> ping
PONG
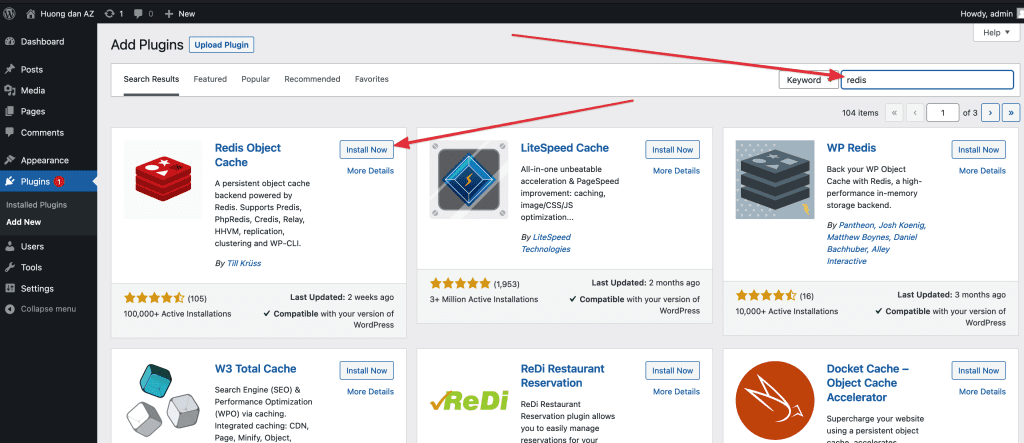
Next, you configure Redis with WordPress using a plugin called Redis Object Cache. You log in to the admin page of the website => go to the plugin section => find & install this plugin.
Next, open the wp-config.php file and add the following configuration:
define('WP_CACHE_KEY_SALT', '<Tên miền>');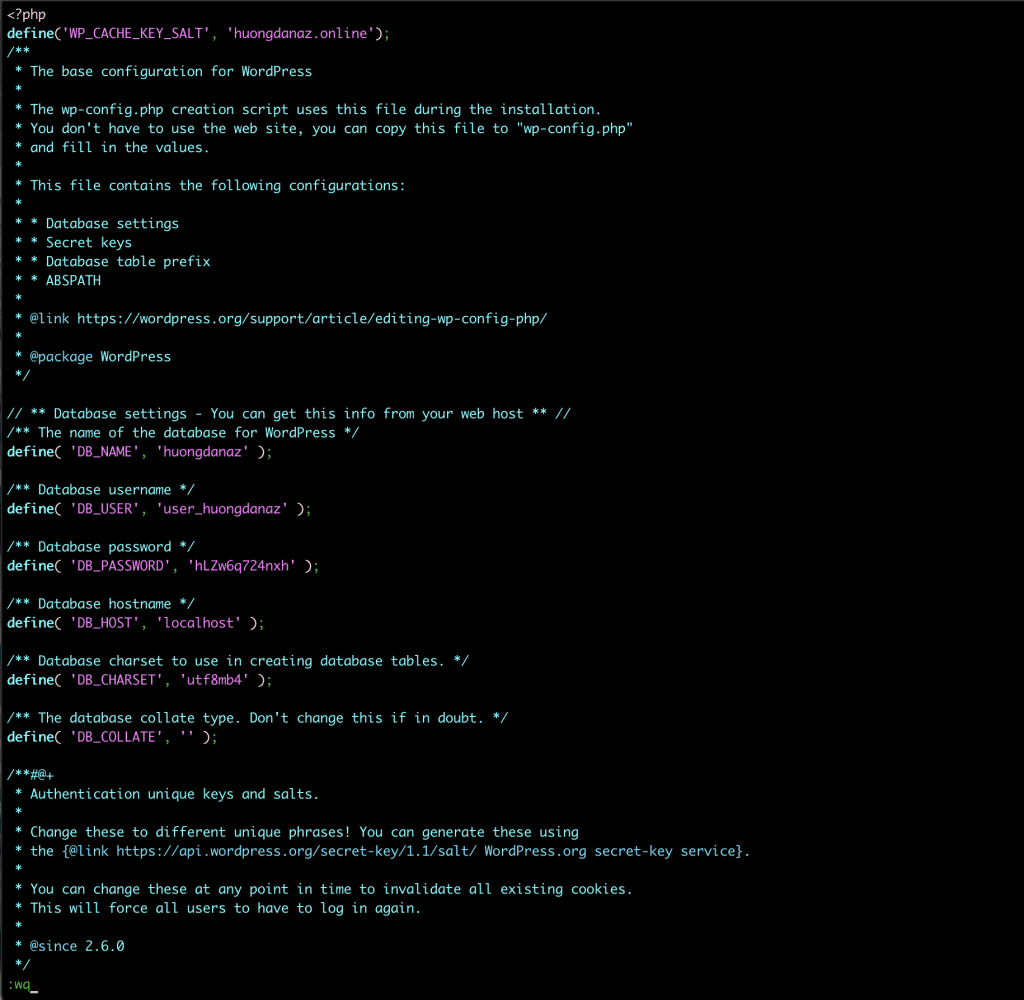
After adding, type :wq to save and exit.
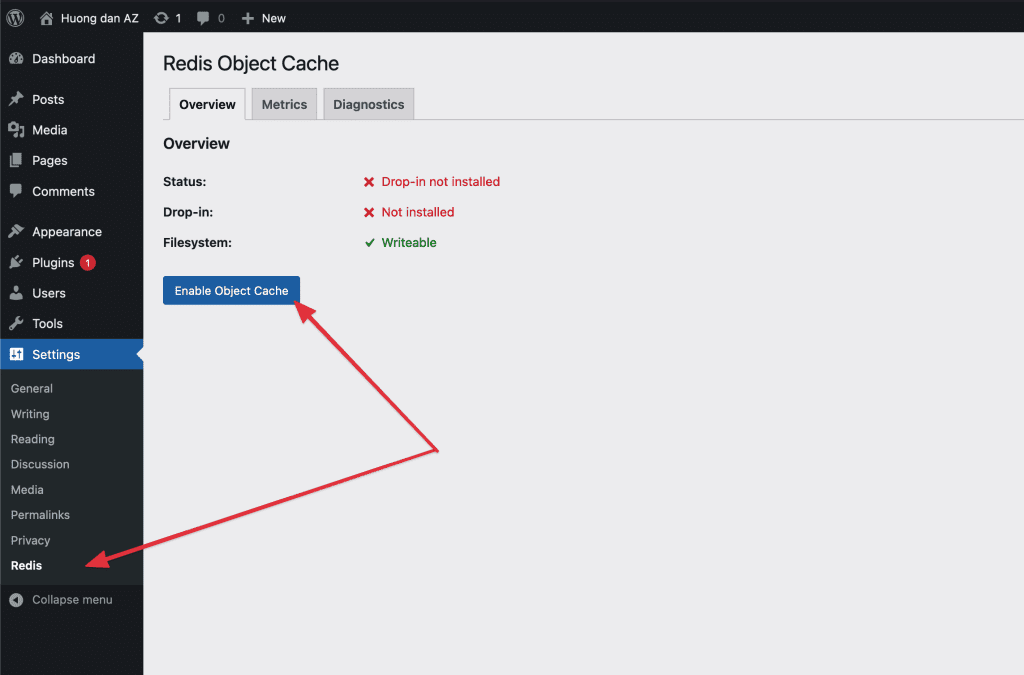
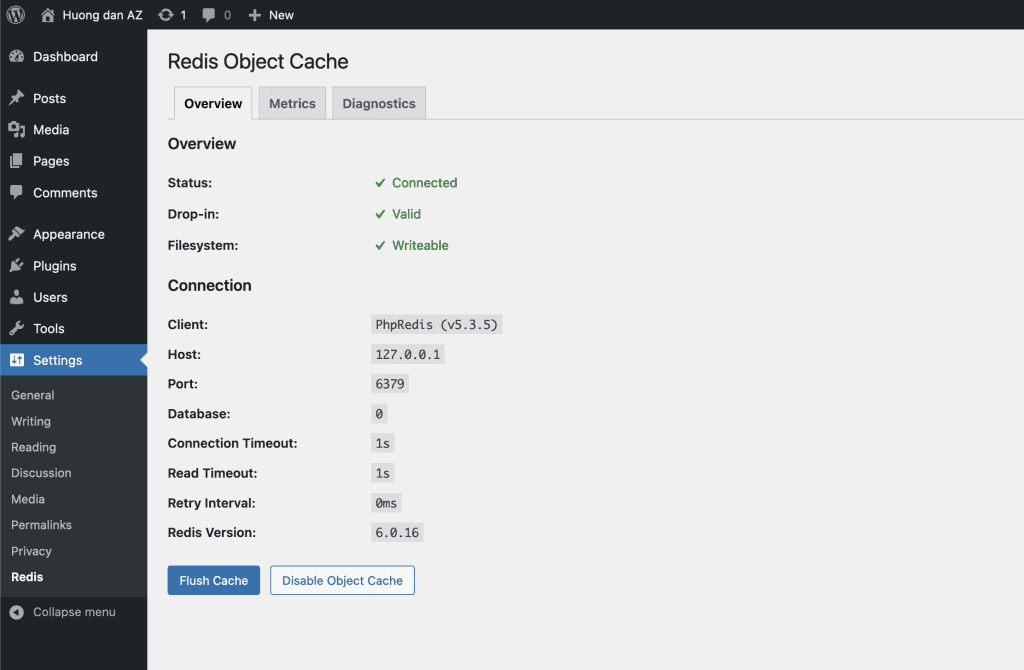
So the configuration is complete, you go back to the website’s admin page => go to Settings => find Redis and activate it.
6. Install SSL certificate for website
To increase the security of your website, you can install a free Let’s Encrypt SSL certificate. Here I will use certbot and use the commands below to install.
sudo snap install core; sudo snap refresh coreroot@ubuntu-2204:~# sudo snap install core; sudo snap refresh core
sudo snap install --classic certbotroot@ubuntu-2204:~# sudo snap install --classic certbot
sudo ln -s /snap/bin/certbot /usr/bin/certbotroot@ubuntu-2204:~# sudo ln -s /snap/bin/certbot /usr/bin/certbot
After the certbot installation is complete, you need to install an SSL certificate for your website.
sudo certbot --nginx -d <Tên miền> -d <www.Tên miền>root@ubuntu-2204:~# sudo certbot --nginx -d huongdanaz.online
Note: About the <www.domain> you must point to the A record with the server IP/VPS or the CNAME record with the previous domain name, if you haven’t manipulated the pointer, remove the” -d <www.domain> “ part. Here, I will not manipulate the pointer, so I removed the certificate installation for www.domain
Saving debug log to /var/log/letsencrypt/letsencrypt.log
Enter email address (used for urgent renewal and security notices)
 (Enter 'c' to cancel): admin@huongdanaz.online               #Điền email

- - - - - - - - - - - - - - - - - - - - - - - - - - - - - - - - - - - - - - - -
Please read the Terms of Service at
https://letsencrypt.org/documents/LE-SA-v1.2-November-15-2017.pdf. You must
agree in order to register with the ACME server. Do you agree?
- - - - - - - - - - - - - - - - - - - - - - - - - - - - - - - - - - - - - - - -
(Y)es/(N)o: Y

- - - - - - - - - - - - - - - - - - - - - - - - - - - - - - - - - - - - - - - -
Would you be willing, once your first certificate is successfully issued, to
share your email address with the Electronic Frontier Foundation, a founding
partner of the Let's Encrypt project and the non-profit organization that
develops Certbot? We'd like to send you email about our work encrypting the web,
EFF news, campaigns, and ways to support digital freedom.
- - - - - - - - - - - - - - - - - - - - - - - - - - - - - - - - - - - - - - - -
(Y)es/(N)o: Y
Account registered.
Requesting a certificate for huongdanaz.online

Successfully received certificate.
Certificate is saved at: /etc/letsencrypt/live/huongdanaz.online/fullchain.pem
Key is saved at:         /etc/letsencrypt/live/huongdanaz.online/privkey.pem
This certificate expires on 2022-08-16.
These files will be updated when the certificate renews.
Certbot has set up a scheduled task to automatically renew this certificate in the background.

Deploying certificate
Successfully deployed certificate for huongdanaz.online to /etc/nginx/sites-enabled/default
Congratulations! You have successfully enabled HTTPS on https://huongdanaz.online

- - - - - - - - - - - - - - - - - - - - - - - - - - - - - - - - - - - - - - - -
If you like Certbot, please consider supporting our work by:
 * Donating to ISRG / Let's Encrypt:   https://letsencrypt.org/donate
 * Donating to EFF:                    https://eff.org/donate-le
- - - - - - - - - - - - - - - - - - - - - - - - - - - - - - - - - - - - - - - -
After installing the SSL certificate, you can revisit the website to check.

So we have completed the steps to install LEMP Stack on Ubuntu 22.04.
If you need support, you can contact support in the ways below:
- Hotline 247: 028 888 24768 (Ext 0)
- Ticket/Email: You use the email to register for the service and send it directly to: support@azdigi.com .