Nội dung
How to delete Action Scheduler in WooCommerce
In the process of using a WordPress website, sometimes you will encounter a sudden situation of full capacity while your website doesn’t have too much data. So why is the problem of full capacity?
If you use WooCommerce, you will encounter cases where the actionscheduler_actions và actionscheduler_logs tables take up too much space.
So what do these two tables mean and how to solve them, please continue reading.

Action Scheduler is a component of the Woocommerce plugin to manage and track pre-scheduled actions. When a work task is triggered, it is implicitly processed in a fully automated manner.
The Action Scheduler will record a job log, which you can view in detail in the Scheduled Actions tab in the Status section of WooCommerce. In the database, data is stored in the wp_actionscheduler_actions and wp_actionscheduler_logs tables. Long time, the work tasks may become more and more, making the database cumbersome and slowing down your website.
For tasks that have been completed, failed or canceled, you should delete them to reduce the load on the database.
1. Delete in phpMyAdmin
At the phpMyadmin interface, click on Empty to empty this table.

2. Delete with mysql command
You access MySQL and then run the following commands in turn to delete.
Note: Each database will have a different prefix, you need to check the prefix you are using to correct it.
VD: wp_actionscheduler_actions (prefix is wp_)
DELETE FROM 'wp_actionscheduler_actions' WHERE 'status' = 'complete'
DELETE FROM 'wp_actionscheduler_actions' WHERE 'status' = 'canceled'
DELETE FROM 'wp_actionscheduler_actions' WHERE 'status' = 'failed'
3. add_filter in Theme’s functions
For performed tasks, the default is cleared for 30 days but you can change the setting to 7 days or 1 day.
You can add a filter in your theme for automatic deletion by opening the functions.php file at wp-content/themes/my-theme/functions.php. Then add the following at the bottom of the file.
add_filter( 'action_scheduler_retention_period', 'wp_action_scheduler_purge' );
/**
 * Change Action Scheduler default purge to 1 days
 */
function wpb_action_scheduler_purge() {
 return DAY_IN_SECONDS; #1 ngày
 #return WEEK_IN_SECONDS; #7 ngày
}
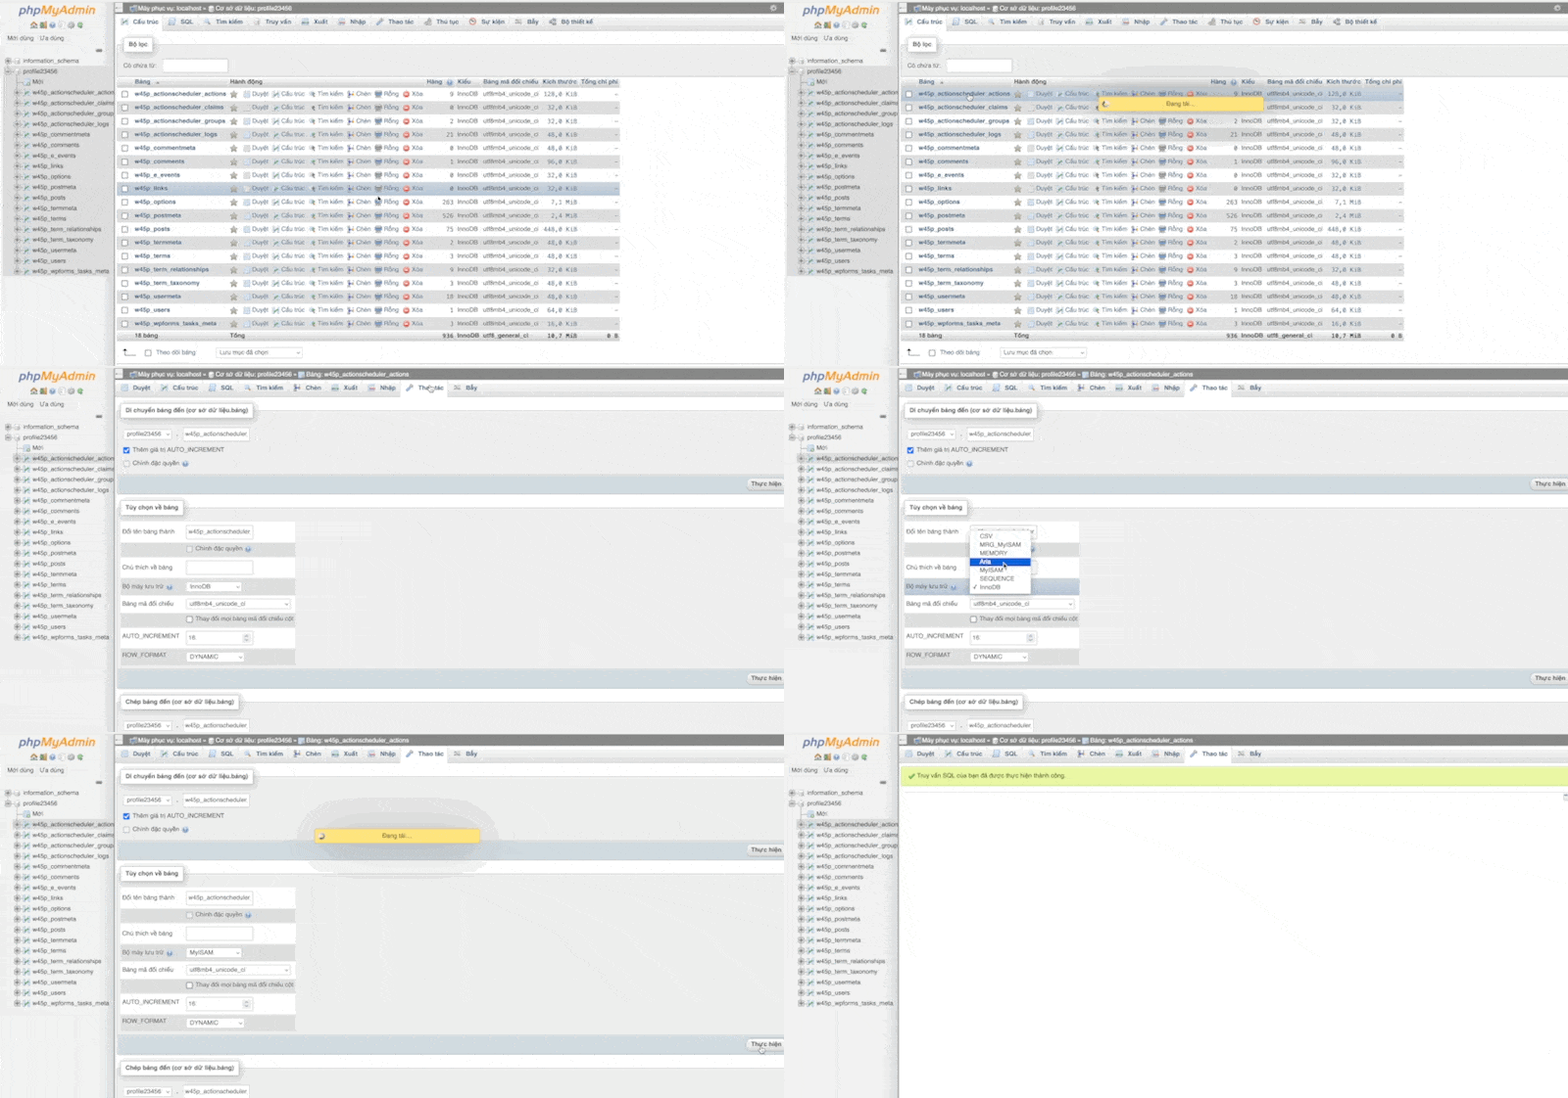
4. Change Storage Engine Database
Please change the table type from InnoDB to MyISAM to finish.

So AZDIGI has completed the guide to remove Action Scheduler in WooCommerce.
Wishing you success!
If you need assistance, you can contact support in the ways below:
- Hotline 247: 028 888 24768 (Ext 0)
- Ticket/Email: You use the email to register for the service and send it directly to: support@azdigi.com .
- Click on the AZDIGI website to refer to the best Hosting/VPS service in Vietnam.


