What is Redis?
Redis is open-source software that stores data structures in RAM on the server. This software can be used as a database or as a cache.
For WordPress websites, Redis can be used to cache the processing data declared by WP_Object_Cache. In short and easy to understand, Object Cache in WordPress will help the server save time processing queries in PHP or Database by storing cached data somewhere, and Redis will help us store these data in memory for faster access than saving to the hard drive.
What is Redis-PHP?
Redis php is an extension for PHP that provides an API to communicate with Redis’s key-value store.
Installation conditions
- Custombuild 2.x
- DirectAdmin new version
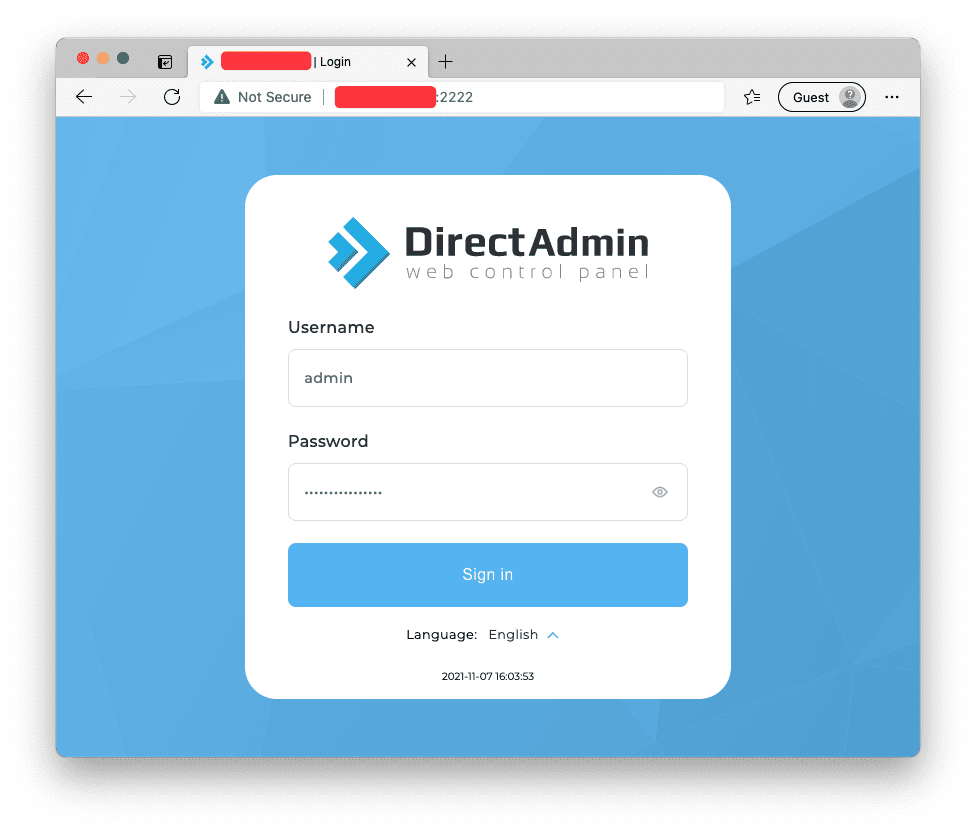
Step 1: Log in to the DirectAdmin admin
To install Redis with Custombuild, you need to login to DirectAdmin admin, please use the following default path and port to login.
The login path:
- server-ip:2222
- hostname:2222

Step 2: Adjust the configuration file
These options will default be No, so you need to open the configuration and switch to Yes before performing the installation.
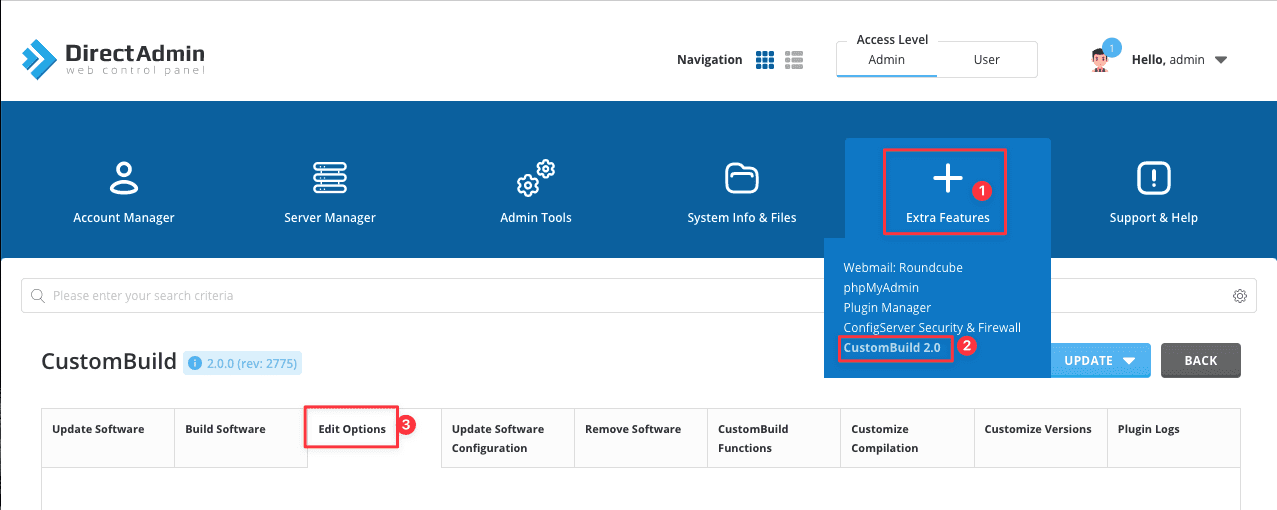
There are many interfaces on DirectAdmin, but the functions are exactly the same. So you just need to go to Extra Features => Custom Build 2.0 => Edit Options as shown below:
After entering the Edit Options section, you need to adjust the following 2 lines to install Redis, including:
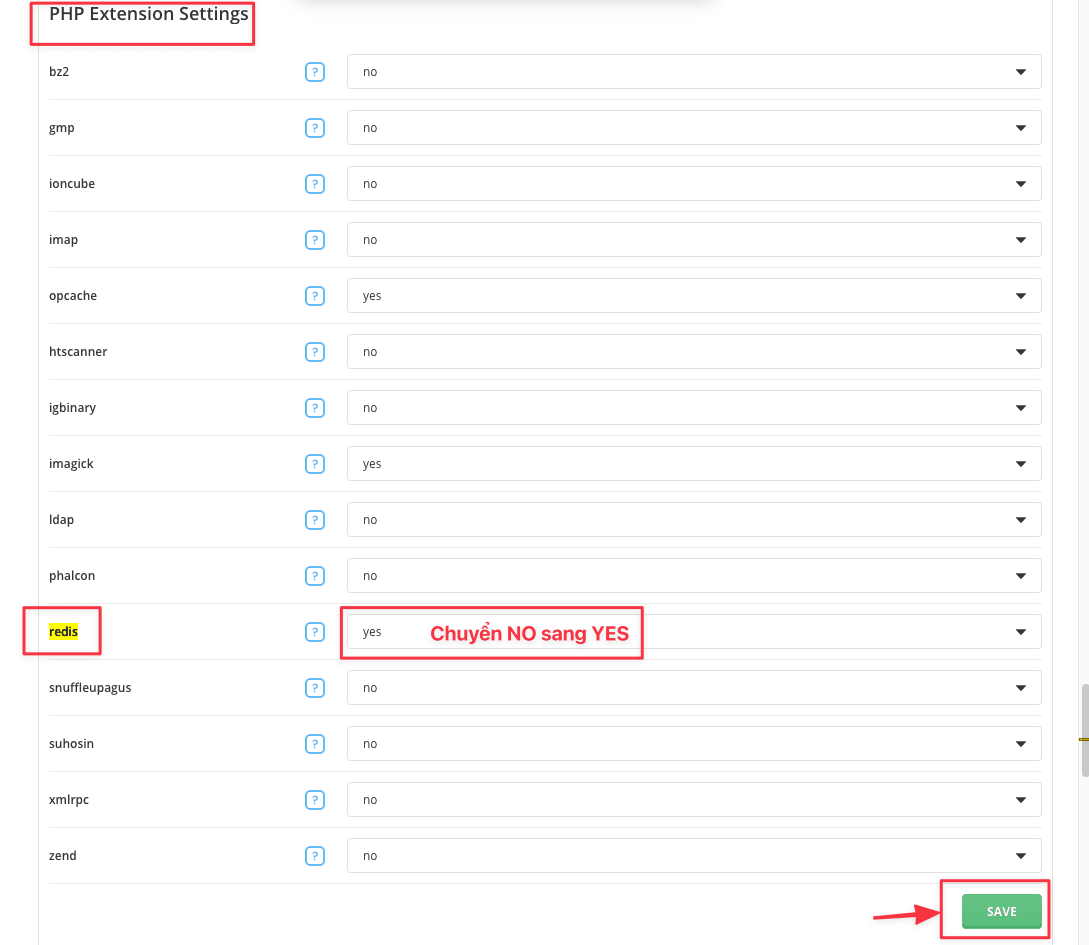
1. Enable the installation of Redis Extension
In the PHP Extension Settings section, find the Redis line and switch from No to Yes => click Save.
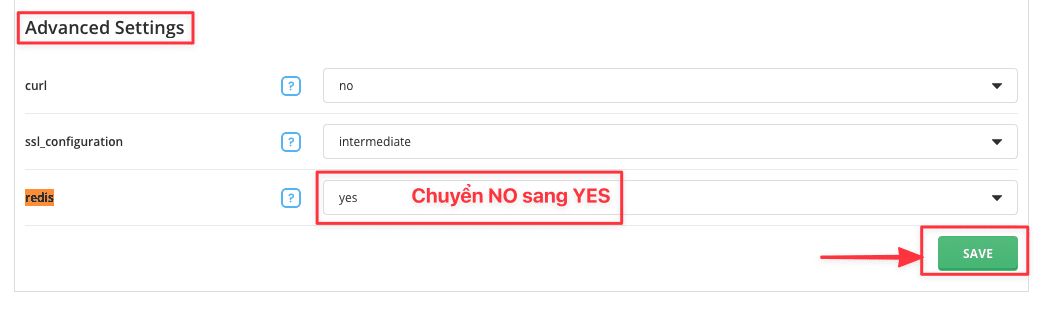
2. Enable Redis App Installation Allowance
You scroll down to the Advanced Settings section, you will see a line that is Redis, you also switch from No to Yes => click Save to save the changes.
Step 3: Install Redis
After finishing customizing the configuration file, go to the Build Software tab and install the Redis extension application as follows:
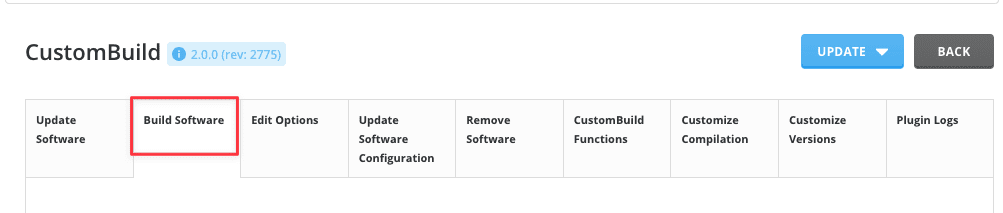
1. Install Redis application
Go to Install/update server components (Install/update redis) and find the line named Build redis, click the Build button to install it.
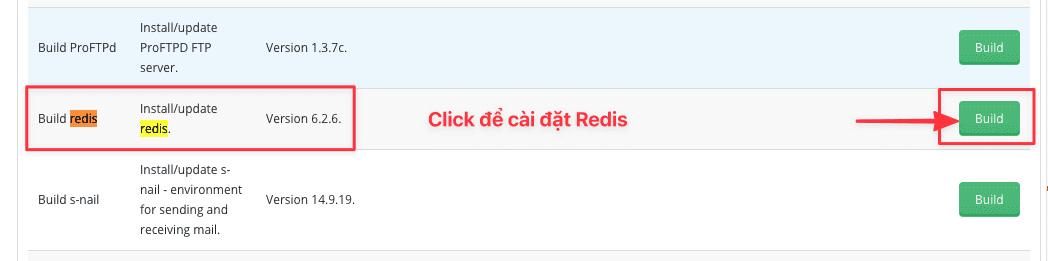
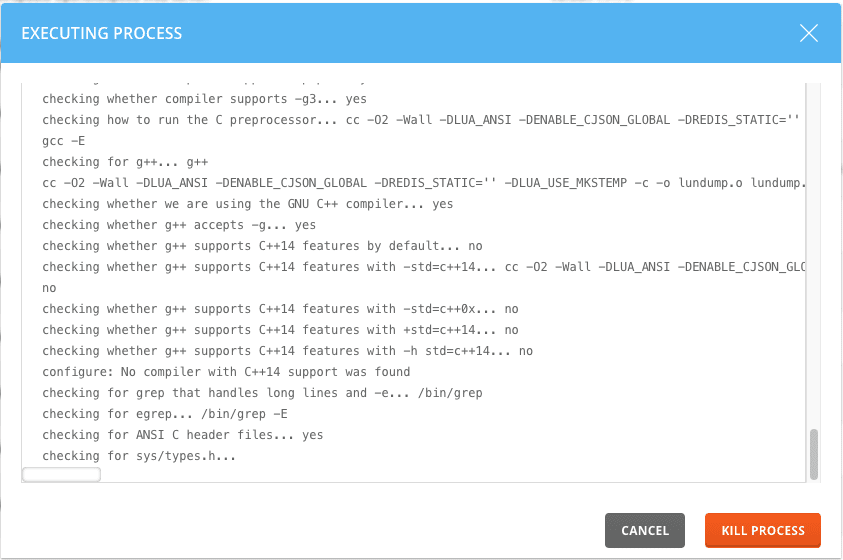
The system will start the installation and you can close the installation window by clicking the X
2. Install Redis extension php
You can understand Extension php is the driver to connect to the application. To install, go to Install/update PHP extensions and find the line Build redis (Install/update redis extension for PHP) => click Build to start installing Redis extension php.
The installation will take 5-10 minutes and you can close this installation window.

Step 4: Install Redis on WordPress
After successfully installing Redis and Redis PHP Extension on the server, you can use the Plugin named Redis Object Cache to connect as follows:
1. Add KEY SALT
Because there will be many active websites on the server, you need to add a separate key salt for each website. Open the wp-config.php file and add the below: <?php
Note: Replace my-domain with your domain.
define('WP_CACHE_KEY_SALT', 'my-domain');
2. Install Plugin
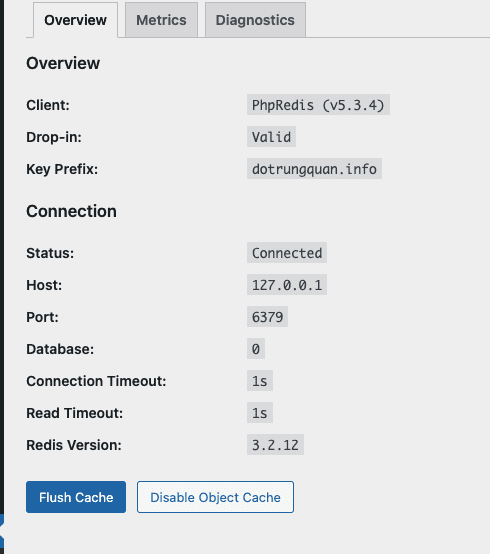
I will use a Plugin called Redis Object Cache.
After installing and activating the Plugin, open Settings => Redis and click Enable to use.
Summary
Hopefully, through the tutorial on installing Redis with Custombuild on DirectAdmin to speed up the website, it will help you better understand Redis and how to connect to the website, thereby helping your website have better speed, reducing the load on system resources.
Wishing you success!
See more useful articles about DirectAdmin at the following link:
If you need assistance, you can contact support in the ways below:
- Hotline 247: 028 888 24768 (Ext 0)
- Ticket/Email: You use the email to register for the service and send it directly to: support@azdigi.com
About the author

Thạch Phạm
Đồng sáng lập và Giám đốc điều hành của AZDIGI. Có hơn 15 năm kinh nghiệm trong phổ biến kiến thức liên quan đến WordPress tại thachpham.com, phát triển website và phát triển hệ thống.