
Install Redis on CyberPanel
In this article, AZDIGI will guide you on installing Redis on a server using CyberPanel and configure Redis with WordPress Website to optimize, increase load capacity and help improve site loading speed.
I. Overview
Redis is an open-source software used to store structured data, which can be used as a database, cache, or message broker. It is a very powerful and popular KEY-VALUE data storage system today. Redis stands out because it supports many basic data structures such as hash, list, set, sorted set, string. All data is recorded and stored in RAM, so data read and write speed will be very fast. For details on installation and configuration steps, please see below.
II. Implementation guide
To install Redis on the server and configure Redis with your website, you can follow these 2 steps.
Step 1: Install Redis Server
By default, when installing CyberPanel control, the provider will ask you whether to install Redis on your server or not with the content below:

In this optional step, you choose Y (Yes), the system will install Redis on your server and you do not need to do anything else. However, if you choose n (no) at this step, the system will skip and not install Redis on your server.
So if you skipped this installation step before, how can you reinstall Redis on your server without having to do the installation by command? Please continue to see the instructions below.
To install Redis, you can do a quick installation by accessing the CyberPanel admin page at the following link: https://45.252.249.102:8090/ and login with Admin information on CyberPanel.
After successfully logging into CyberPanel, go to Manage Services => Applications
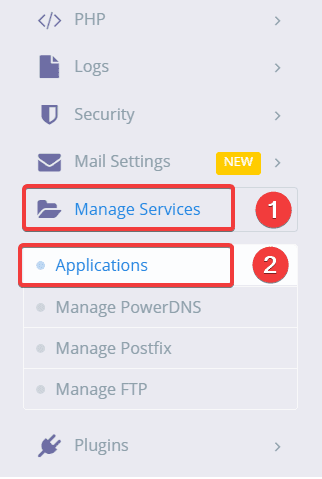
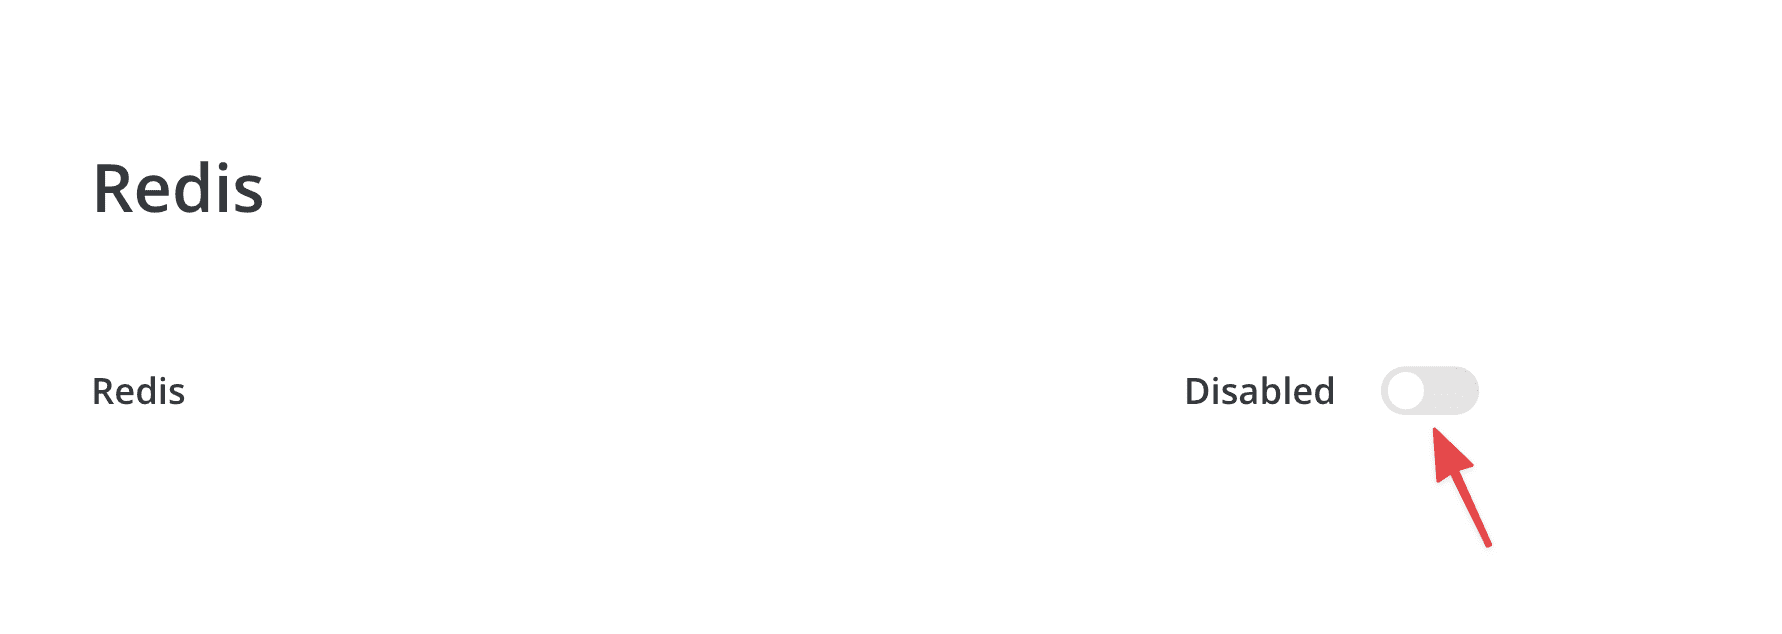
In the MANAGE APPLICATIONS section, select Redis and click INSTALL.
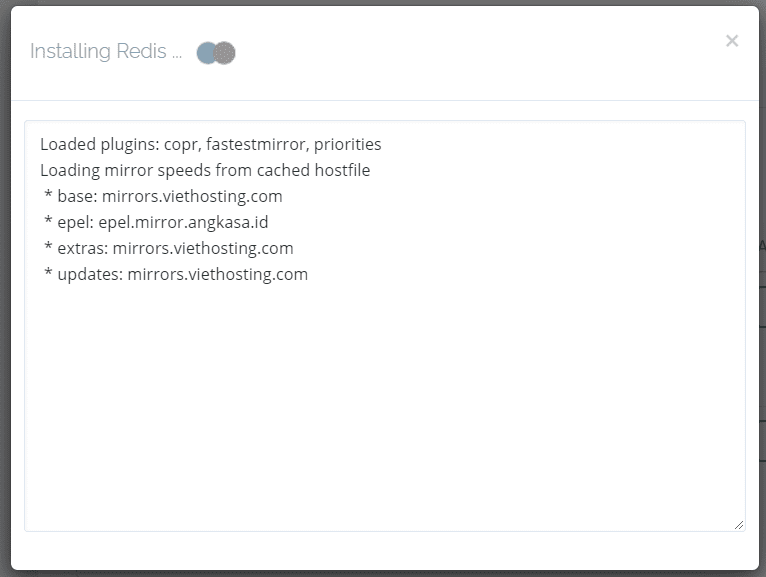
The installation will proceed as shown and run for a few minutes.
After successful installation, you will see the word Installed.

Step 2: Customize Redis configuration
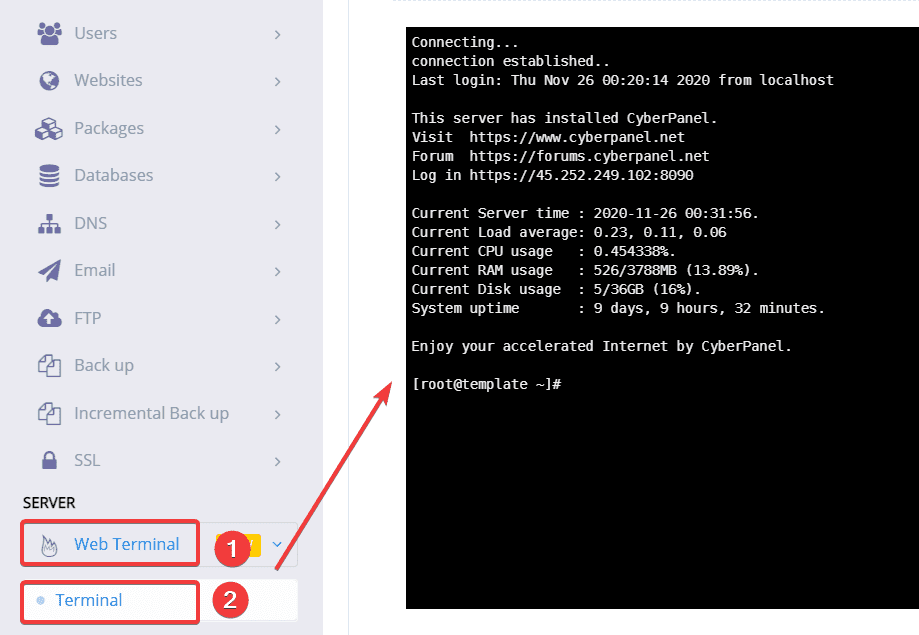
After installing Redis, you need to adjust the parameters of Redis. Specifically, you need to set RAM parameters of about 256MB or more. You need to SSH into the VPS according to the instructions below or you can SSH directly on the CyberPanel interface through the Web Terminal feature as shown below:
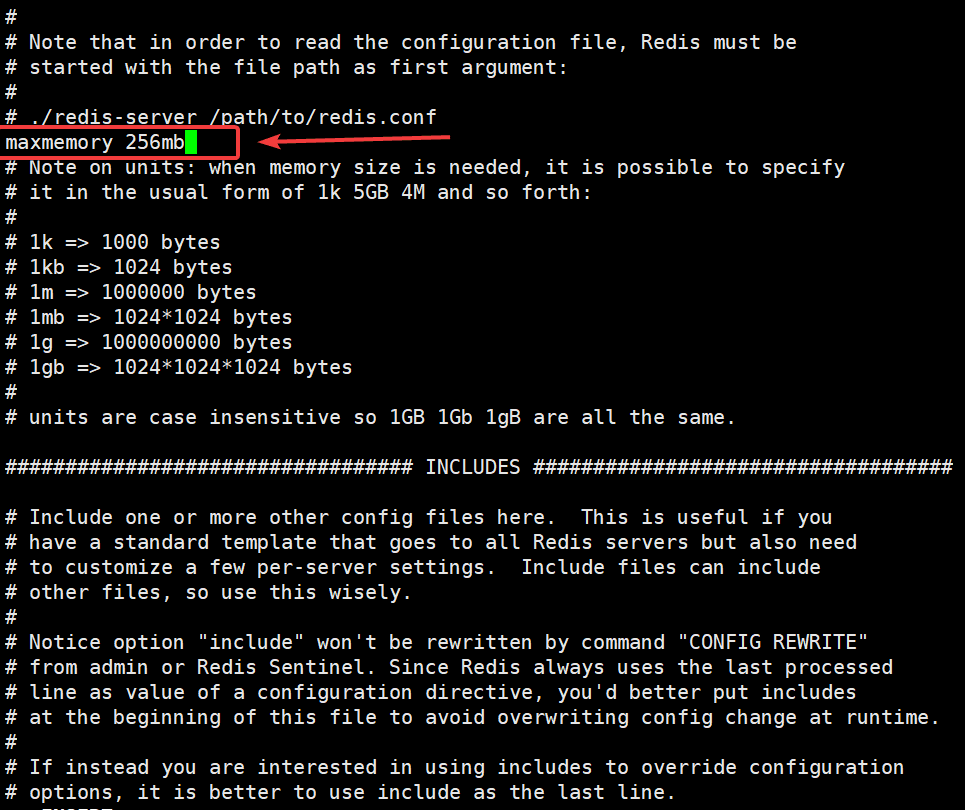
You need to open the Redis configuration file with the command below:
vi /etc/redis.conf
You need to add the maxmemory 256mb to the configuration file and save it.
Next, restart Redis with the command:
systemctl restart redis
So you’ve finished editing the Redis configuration.
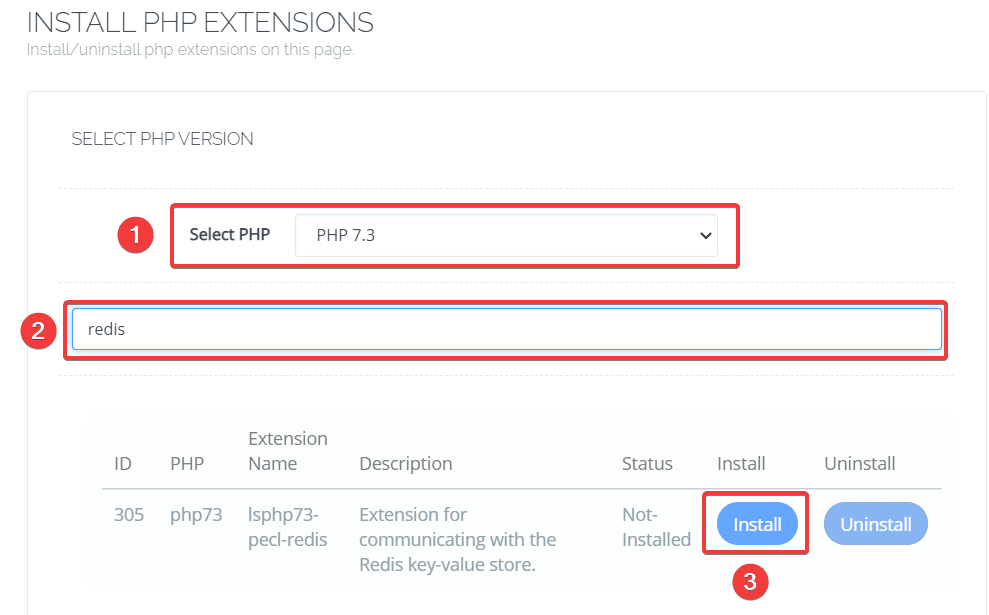
Step 3: Install Redis Extension
After installing Redis, you need to enable the corresponding Redis extension on the PHP version that the website is using. To check the PHP version your website is using and install the extension, please refer to the instructions below:
We will install it as follows:
So you have successfully installed the Redis extension.
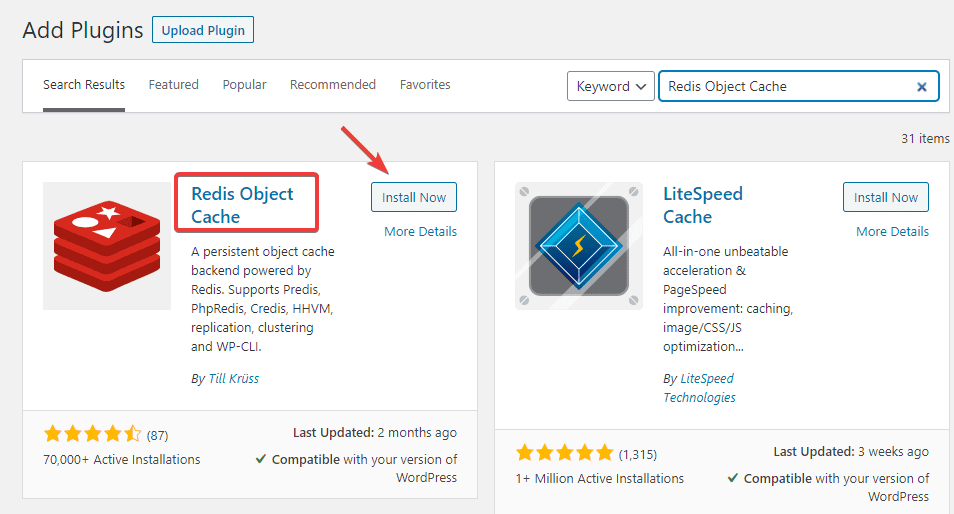
Step 4: Configure Redis with WordPress Website
To connect Redis to your WordPress website on CyberPanel, go to the website’s admin page, find and install a plugin called Redis Object Cache.
After installation is complete, you Activate Plugin and connect Redis as follows: Settings => Redis => Enable Object Cache
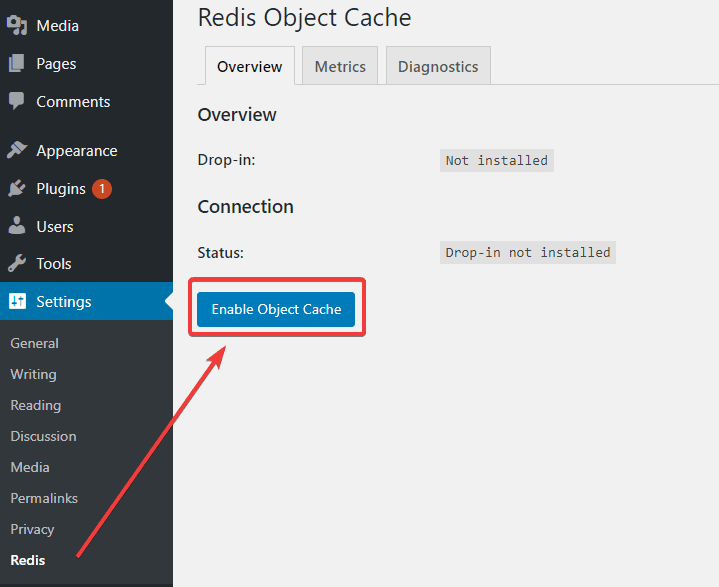
If you receive the Connected message as below, it is successful.

III. Summary
So AZDIGI has shown you how to install and configure Redis completely to help optimize your website and speed up page loading significantly. Hopefully, this article will help you do it successfully, helping your server as well as your website improve significantly in performance. If you find this helpful article, you can share it widely!
You can also refer to some other articles about CyberPanel at the link below:
If you need assistance, you can contact support in the ways below:
- Hotline 247: 028 888 24768 (Ext 0)
- Ticket/Email: You use the email to register for the service and send it directly to: support@azdigi.com
About the author

Thạch Phạm
Đồng sáng lập và Giám đốc điều hành của AZDIGI. Có hơn 15 năm kinh nghiệm trong phổ biến kiến thức liên quan đến WordPress tại thachpham.com, phát triển website và phát triển hệ thống.